之前想给VS Code搞个C++编译环境,结果看了网上很多教程最后搞得一团糟,最近把参照官方教程终于搞了个差不多。
准备工作
首先准备好VS Code,然后再插件商店安装C/C++插件(https://marketplace.visualstudio.com/items?itemName=ms-vscode.cpptools)。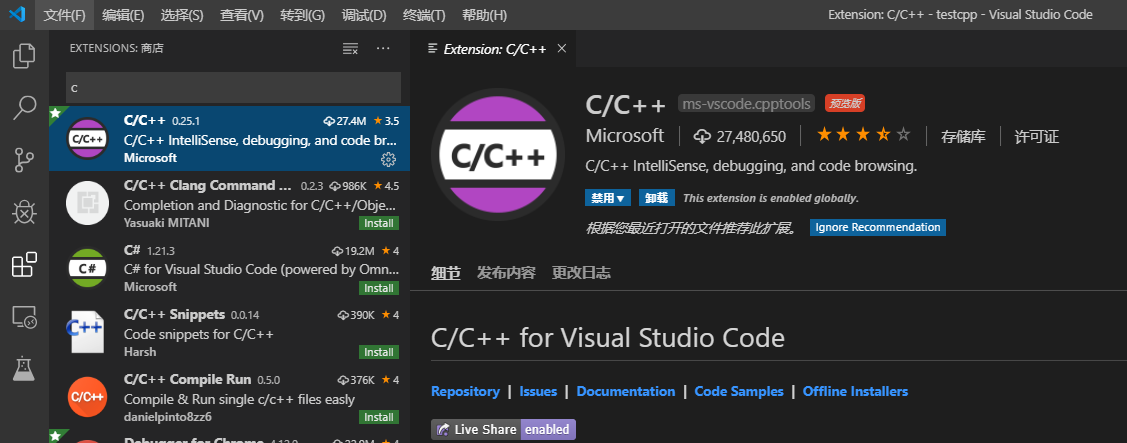
安装MinGW
MinGW是个包含GCC和GDB(C/C++的调试器)的开发环境工具包。官网给出得地址是 http://mingw-w64.org/doku.php/download/mingw-builds,进入后点击“Installation: Sourceforge”下载。下载后打开,Architecture选择x86_64,然后继续。安装目录官方文档不建议放在C:/Program Files/。我放在了C盘根目录下。Next后开始下载文件,下载完成后会在安装位置创建Mingw_w64文件夹,进入Mingw-w64\x86_64-8.1.0-posix-seh-rt_v6-rev0\mingw64\bin是我们要用到的bin目录。
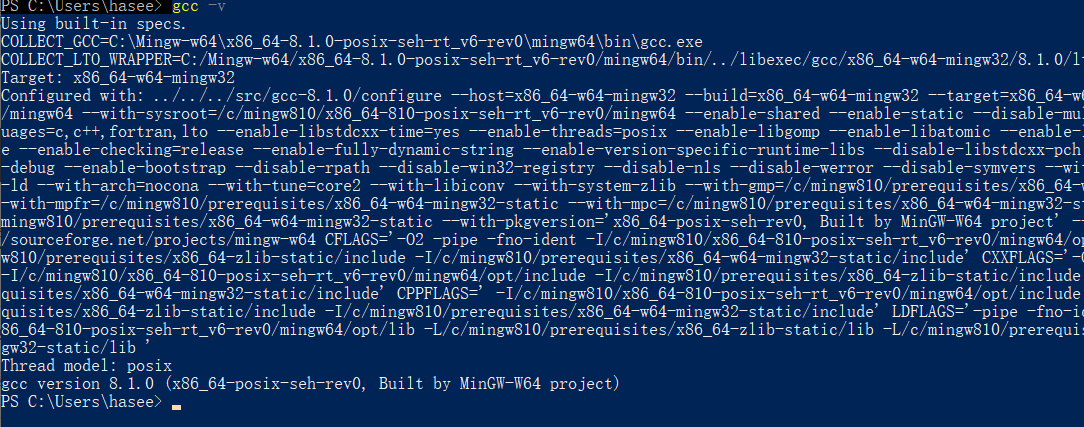
然后设置环境变量,我第一反应是在电脑高级设置中,但那样似乎再PowerShell里不生效,而vscode就用的powershell。老实跟官网做,在powershell里敲入setx path “%path%;<bin目录的绝对位置(不含<>)>"然后重新打开powershell,键入gcc -v,可以看到以下命令输出:
配置Visual Studio Code
首先创建你的项目文件夹作为工作区,此处作为示例为testcpp。打开VS Code,打开创建的文件夹,现在是空的:
![]()
我们通过接下来的步骤创建以下三个文件,它们将出现在.vscode子目录中:
c_cpp_properties.json(编译器路径和IntelliSense设置)tasks.json(编译命令)launch.json(调试设置)
1. 设置编译器路径
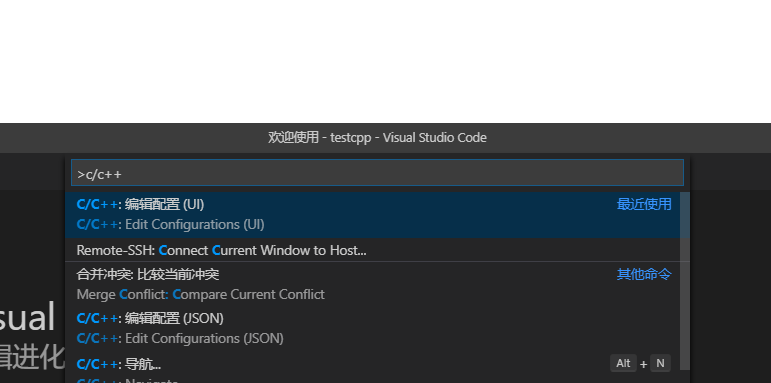
按Ctrl+Shift+P打开命令面板,输入c/c++选择第一个命令(Edit configurations):
然后找到Compiler path,把bin文件下的gcc.exe的路径填进去:

最后修改IntelliSense mode为gcc_x64。
现在我们看到.vscode目录下的c_cpp_properties.json已经创建好了,里面的内容大致如下所示:
{
    "configurations": [
        {
            "name": "Win32",
            "includePath": [
                "${workspaceFolder}/**"
            ],
            "defines": [
                "_DEBUG",
                "UNICODE",
                "_UNICODE"
            ],
            "compilerPath": "C:\\Mingw-w64\\x86_64-8.1.0-posix-seh-rt_v6-rev0\\mingw64\\bin\\gcc.exe",
            "cStandard": "c11",
            "cppStandard": "c++17",
            "intelliSenseMode": "gcc-x64"
        }
    ],
    "version": 4
}
2. 创建生成任务
task.json负责程序运行前的生成工作。还是Ctrl+Shift+P打开命令面板,输入task,选择Configure Default Build Task,再回车选择“从模板建立文件”,然后选择Others,得到:
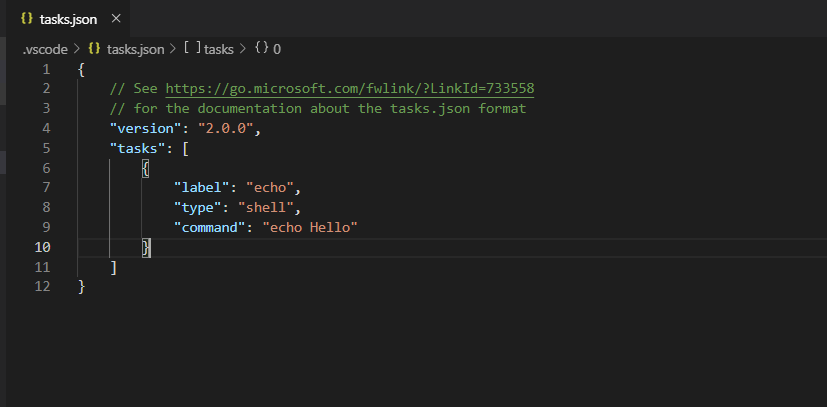
将以下内容粘贴进去:
{
  "version": "2.0.0",
  "tasks": [
    {
      "label": "build hello world",
      "type": "shell",
      "command": "g++",
      "args": ["-g", "-o", "helloworld", "helloworld.cpp"],
      "group": {
        "kind": "build",
        "isDefault": true
      }
    }
  ]
}
“args"的后两项指明要编译的是helloword.cpp,输出的文件是helloworld.exe。
然后保存,得到task.json,再运行程序之前,按Ctrl+Shift+B进行编译。
3. 配置调试
Ctrl+Shift+P打开命令面板,输入launch,选择Debug: Open launch.json,得到launch.json的模板,修改如下:{
// Use IntelliSense to learn about possible attributes.
// Hover to view descriptions of existing attributes.
// For more information, visit: https://go.microsoft.com/fwlink/?linkid=830387
"version": "0.2.0",
"configurations": [
{
"name": "(gdb) Launch",
"type": "cppdbg",
"request": "launch",
"program": "${workspaceFolder}/helloworld.exe",
"args": [],
"stopAtEntry": true,
"cwd": "${workspaceFolder}",
"environment": [],
"externalConsole": true,
"MIMode": "gdb",
"miDebuggerPath": "C:\\Mingw-w64\\x86_64-8.1.0-posix-seh-rt_v6-rev0\\mingw64\\bin\\gdb.exe",
"setupCommands": [
{
"description": "Enable pretty-printing for gdb",
"text": "-enable-pretty-printing",
"ignoreFailures": true
}
]
}
]
}
其中"miDebuggerPath"指向MinGW的bin目录下的的gdb.exe。"program"中带exe的文件名要与task中输出的文件一致。
到此VSCode配置完成。
开始C/C++
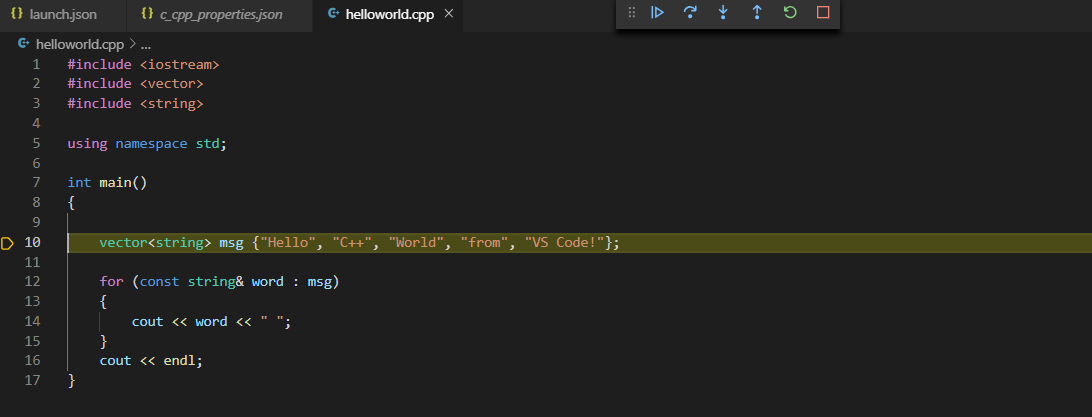
现在可以写一个程序测试以下,根据前面的配置文件所指定的,这个源文件名应该说是helloworld.cpp。我们写一个HelloWorld测试一下:
#include#include #include using namespace std; int main() { vector msg {"Hello", "C++", "World", "from", "VS Code!"}; for (const string& word : msg) { cout << word << " "; } cout << endl; system("pause"); return 0; }
先按Ctrl+Shift+B编译得到helloworld.exe:

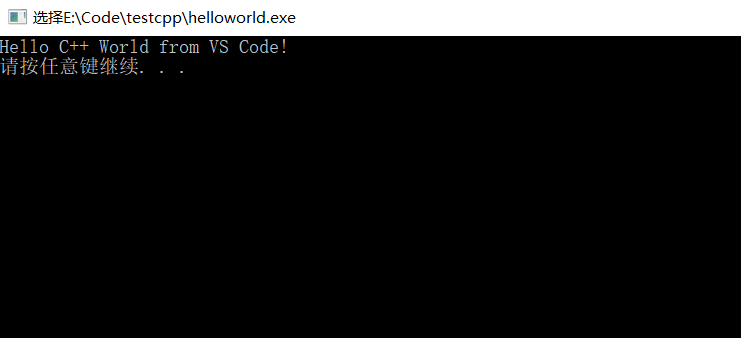
然后按下F5运行程序。
此时控制台会一闪而过,然后调试停在第一行:
再按F5就可以继续了。
 如果不需要这样,将launch.json中的stopAtEntry设置为false即可。
将externalConsole设置为false,可以再VSCode的调试控制台看到输出。

