很久之前就看到了有位大佬利用树莓派和墨水屏做出了个电子时钟,逼格比液晶屏不知道高到哪里去了,反观我……,于是决定模仿一波,以提高自己的姿势水平。为了保证不两眼一摸黑,在买之前先仔细学习了两位大佬的文章、产品文档、串口的使用方法……,确认能够上手后才买了下来。
以下是参考的大佬的两篇文章:
[ssbluelist]
[/ssbluelist]好,开工吧!
准备
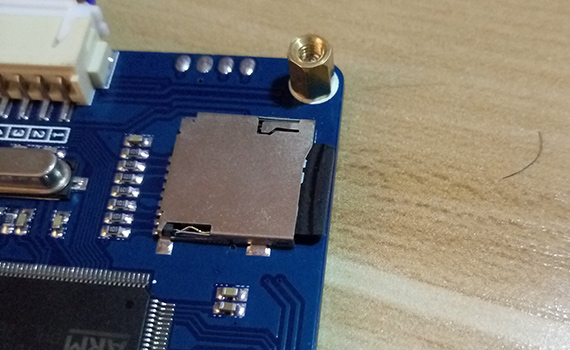
需要准备的有树莓派和墨水屏,TF卡一张(不包括树莓派上用的TF卡,因为墨水屏只识别Fat32格式,所以容量不要太大,8G就够了)。墨水屏我使用的是微雪的4.3寸墨水屏,分辨率为800×600,在淘宝或京东上搜索关键词即可(淘宝上卖的更便宜)。上图:

说实话,这块墨水屏的质量实在不敢恭维,比Kindle差远了,不支持局部刷新。不过好在这不是重点。
准备TF卡
按照原作者在Github上给出的教程和文件,将TF卡格式化为Fat32格式,然后将文件全部复制到TF卡中。最后将TF卡插入墨水屏上的卡槽中。(附Github链接:emptyhua/epaper_clock)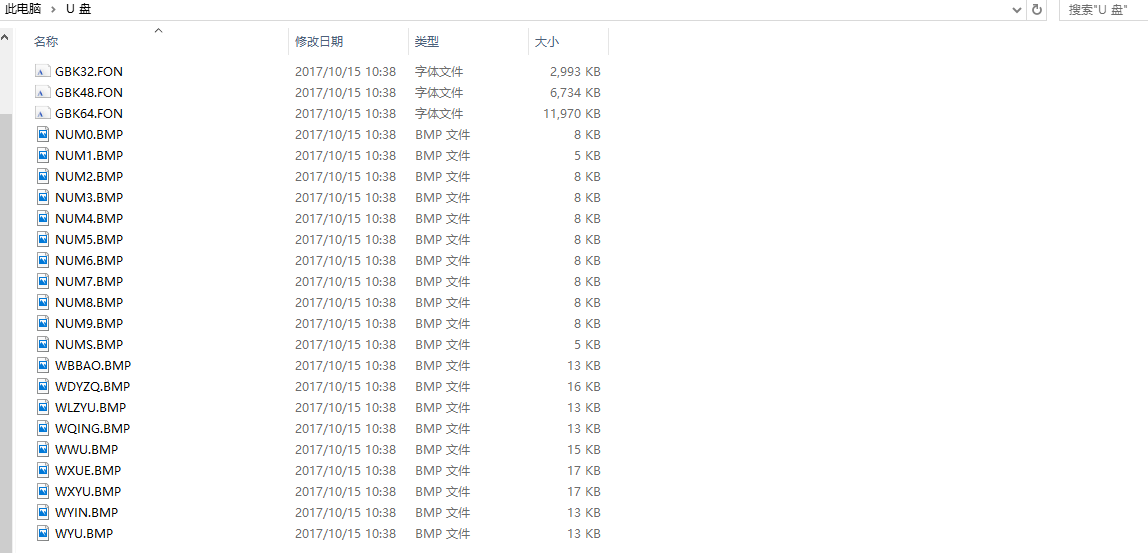
树莓派的设置
这儿可以参考原作者在Github上的教程。(下文来自https://github.com/emptyhua/epaper_clock)树莓派3的串口BUG
在释放串口之前,我们要先解决一下树莓派3的BUG(如果用1,2代请忽略这一步)树莓派3的硬件串口被分配分配给了蓝牙模块,而GPIO14和GPIO15的串口是由内核模拟的,不稳定(可以说基本不能用),所以首先要把GPIO14和GPIO15改成硬件驱动第一步 确保SD卡刷了最新的raspbian jessie镜像
第二步 系统启动,并连接了网络
第三步 执行
sudo apt-get update
sudo apt-get upgrade
dtoverlay=pi3-miniuart-bt
sudo systemctl disable hciuart
释放串口
编辑 /boot/cmdline.txt,默认是下面这样dwc_otg.lpm_enable=0 console=ttyAMA0,115200 kgdboc=ttyAMA0,115200 console=tty1 root=/dev/mmcblk0p2 rootfstype=ext4 elevator=deadline rootwait
dwc_otg.lpm_enable=0 console=serial0,115200 console=tty1 root=/dev/mmcblk0p2 kgdboc=serial0,115200 rootfstype=ext4 elevator=deadline fsck.repair=yes rootwait
console=ttyAMA0,console=serial0,kgdboc=***这两个参数删掉 变成下面这样
dwc_otg.lpm_enable=0 console=tty1 root=/dev/mmcblk0p2 rootfstype=ext4 elevator=deadline fsck.repair=yes rootwait
sudo reboot重启系统 串口就可以正常使用了
开始使用
既然用了人家的东西,自己也要做点贡献,于是乎自己动手添加了百度统计的功能,从百度统计API中获取网站统计数据,在屏幕上显示出来。效果如图:
python代码已放在了Github上:https://github.com/OGRLEAF/epaper_clock
其中,百度统计API是用的官方提供的SDK,暂时还没找到Python版本的。原SDK存在一些问题,我自己修改了下,针对实际情况做了些调整(均已在代码中注明)。
获取百度统计API
1.首先要获取百度统计的API,登录百度统计->管理->其它设置->数据导出服务,启用数据导出功能,启用后你会获得一个TOKEN: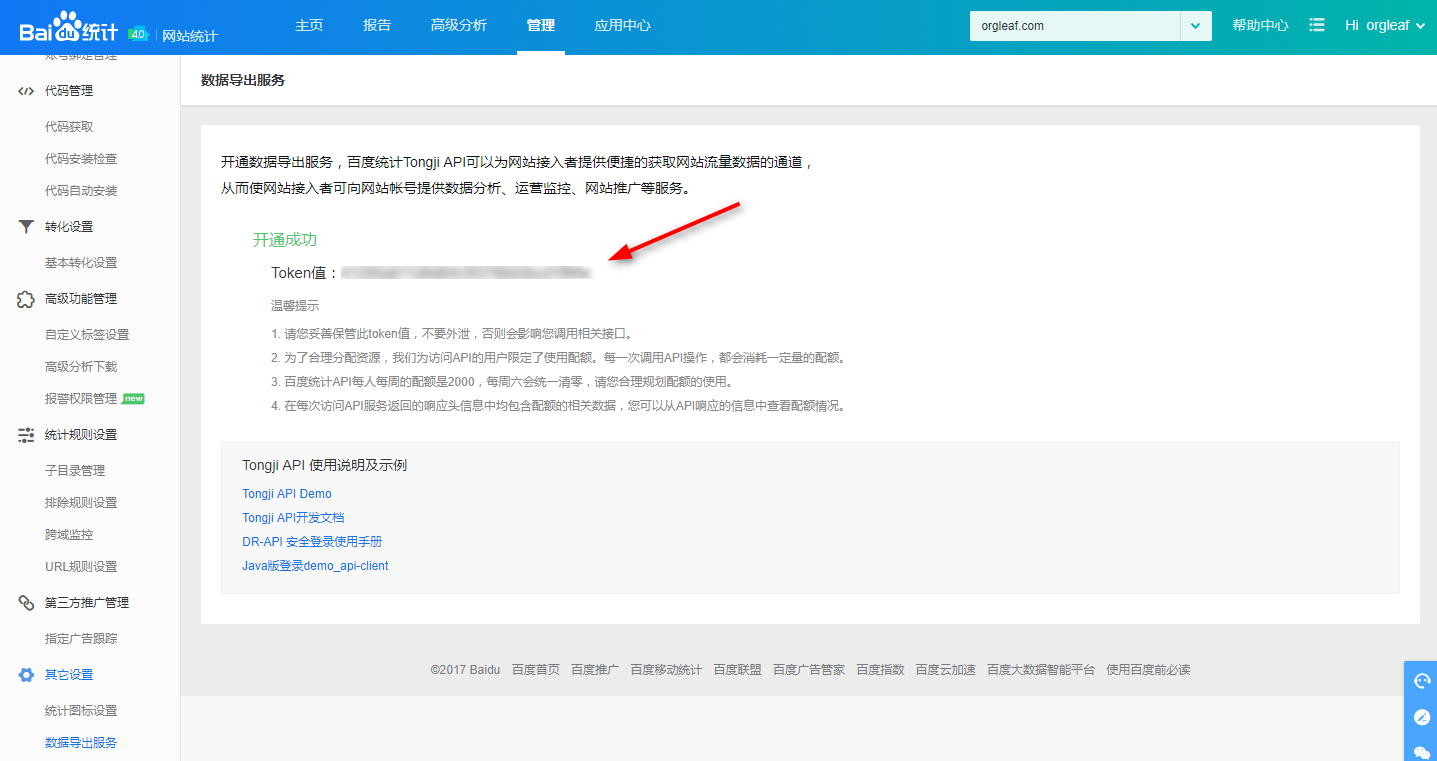
2.编辑/tongjiapi/Config.inc.php,将其中的TOKEN、登录百度统计用的账号密码改为你自己的:
<?php
/**
 * Demo of Tongji API
 * set your information such as USERNAME, PASSWORD ... before use
 */
//*
//preLogin,doLogin URL
define('LOGIN_URL', 'https://api.baidu.com/sem/common/HolmesLoginService');
//Tongji API URL
define('API_URL', 'https://api.baidu.com/json/tongji/v1/ReportService');
//USERNAME
define('USERNAME', '百度统计用户名');
//PASSWORD
define('PASSWORD', '密码');
//TOKEN
define('TOKEN', '从百度统计获得的TOKEN');
//UUID, used to identify your device, for instance: MAC address
define('UUID', '******');
//ACCOUNT_TYPE
define('ACCOUNT_TYPE', 1); //ZhanZhang:1,FengChao:2,Union:3,Columbus:4
//*/
3.安装环境 因为个人水平有限,而百度统计只提供了php的SDK,所以…………需要先安装php环境
sudo apt-get install php curl -y
php ./tongjiapi/demo.php
{"header":{"desc":"success","failures":[],"oprs":1,"succ":1,"oprtime":0,"quota":1,"rquota":49925,"status":0},"body":{"data":[{"result":{"total":2,"items":[[["2017/10/21"],["2017/10/20"]],[[419,156],[600,242]],[],[]],"timeSpan":["2017/10/20 - 2017/10/21"],"sum":[[1019,398],[]],"offset":0,"pageSum":[[1019,398],[],[]],"fields":["simple_date_title","pv_count","visitor_count"]}}]}}
开始运行吧
执行以下命令:php ./tongjiapi/demo.php #将统计数据导入到本地的statistics.json文件中
sudo ./home_air_sensor.py
./weather_fetcher.py
./weather_time_render.py
其它
github里添加了crontab的配置:*/1 * * * * root php /opt/epaper_clock/tongjiapi/demo.php */30 * * * * root /opt/epaper_clock/weather_fetcher.py */1 * * * * root /opt/epaper_clock/home_air_sensor.py */1 * * * * root /opt/epaper_clock/weather_time_render.py统计数据设置为1分钟刷新一次(百度统计API有请求次数限制,每周的配额2000~50000,注意配额的使用)
另外附上独立的在墨水屏上显示统计数据的代码:
#!/usr/bin/env python
# coding: utf-8

import datetime
import json
import os
import sys
import time

from Waveshare_43inch_ePaper import *

screen_width = 800
screen_height = 600
screen = Screen('/dev/ttyAMA0')
screen.connect()
screen.handshake()

screen.clear()
screen.set_memory(MEM_FLASH)
screen.set_rotation(ROTATION_NORMAL)

def tongji_fail(msg):
    screen.text(10,170, msg)
    screen.update()
    screen.disconnect()
    sys.exit(1)

tongji_data_file = os.path.join(os.path.dirname(os.path.abspath(__file__)), 'statistics.json',)
#tongji_data_file = codecs.open(statistics.json, encoding='utf-8')
tdata = {}
try:
    with open(tongji_data_file, 'r') as in_file:
        tdata = json.load(in_file)
except IOError:
    tongji_fail(u'ERROR:无法加载统计数据!')

tdata_uv = str(tdata['body']['data'][0]['result']['items'][1][0][1]).decode("utf-8")
tdata_pv = str(tdata['body']['data'][0]['result']['items'][1][0][0]).decode("utf-8")

ydata_pv = str(tdata['body']['data'][0]['result']['items'][1][1][0]).decode("utf-8")
ydata_uv = str(tdata['body']['data'][0]['result']['items'][1][1][1]).decode("utf-8")


screen.set_ch_font_size(FONT_SIZE_32)
screen.set_en_font_size(FONT_SIZE_32)

#文本显示位置
tongji_x = 540
tongji_y = 270

screen.text(tongji_x,tongji_y - 42,u'-博客访问统计-')
screen.text(tongji_x,tongji_y,u'今日PV')
screen.text(tongji_x + 100,tongji_y,tdata_pv)

screen.text(tongji_x + 100 + 63,tongji_y,u'UV')
screen.text(tongji_x + 100 + 100,tongji_y,tdata_uv)

screen.text(tongji_x,tongji_y + 42,u'昨日PV')
screen.text(tongji_x + 100,tongji_y + 42,ydata_pv)

screen.text(tongji_x + 100 + 63,tongji_y + 42,u'UV')
screen.text(tongji_x + 100 +100,tongji_y + 42,ydata_uv)

screen.update()
screen.disconnect()
sys.exit(1)
(顺便说下,这是我写出的第一个完整的Python (。・`ω´・))
