树莓派体积小巧,但也限制了其性能。这使得在树莓派上只能选择资源占用较小的服务。如果用作HTTP服务器,Apache+MySQL就未免太臃肿了。在这里,推荐的配合是Nginx+MairaDB
1.准备
设备:树莓派3 Model B系统:raspbian
2.下载Nginx/PCRE/OpenSSL源码包
Nginx:http://nginx.org/en/download.htmlPCRE:https://ftp.pcre.org/pub/pcre/
OpenSSL:https://www.openssl.org/source/ (不要下载fips版本)
PHP:http://php.net/get/php-7.0.23.tar.gz/from/a/mirror
MairaDB:https://downloads.mariadb.org/mariadb/10.2.8/
3.安装
创建一个目录用来存放源码,然后将下载的源码解压后放进去:mkdir code
mv *.tar.gz ./code
cd code
tar -zxvf *.tar.gz
pi@raspberrypi:~/code $ ls
nginx-1.12.1 pcre-8.41 openssl-1.1.0f.tar.gz
1.安装PCRE/Nginx
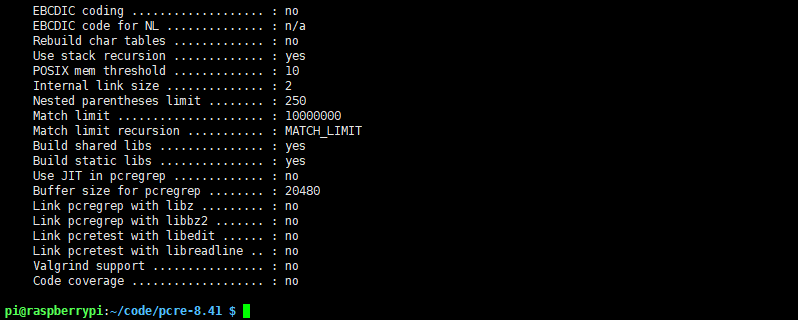
进入PCRE源码目录,执行./configure:
pi@raspberrypi:~/code $ cd pcre-8.41/
pi@raspberrypi:~/code/pcre-8.41 $ sudo ./configure
进入Nginx源码目录,编译安装Nginx:
./configure \
--prefix=/etc/nginx \
--with-pcre=/home/code/pcre-8.41 \
--sbin-path=/usr/sbin/nginx \
--with-http_ssl_module \
--with-openssl=/home/code/openssl-1.1.0f
其中在
--with-pcre=
指定的是pcre的源码目录。
--with-openssl=
指向openssl的源码目录。
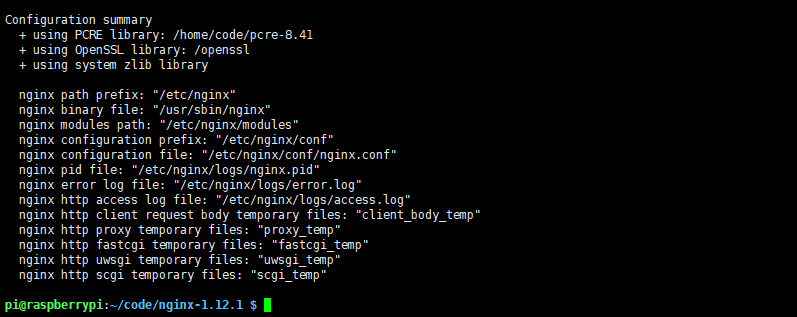
然后开始编译:
make && sudo make install
如果编译时出现问题,可能是PCRE源码的问题,改用apt-get安装pcre即可:
sudo apt-get install libpcre3 libpcre3-dev
,然后在Nginx源码目录下执行
./configure --prefix=/etc/nginx --sbin-path=/usr/sbin/nginx --with-http_ssl_module --with-openssl=/openssl
,再执行
make && sudo make install
。
然后静静等待编译完成。
编译完成后,启动Nginx:
sudo /usr/local/sbin/nginx
在浏览器中访问树莓派的地址,出现下图说明安装成功。

2.安装PHP
①apt-get安装(via:https://segmentfault.com/a/1190000008664157)
在/etc/apt/source.list中添加一行:deb http://mirrordirector.raspbian.org/raspbian/ stretch main contrib non-free rpi接着创建一个文件 sudo vi /etc/apt/preferences,添加以下内容:
Package: *
Pin: release n=jessie
Pin-Priority: 600
更新源,安装PHP:
sudo apt-get update
sudo apt-get install -t stretch php7.0 php7.0-curl php7.0-gd php7.0-fpm php7.0-cli php7.0-opcache php7.0-mbstring php7.0-xml php7.0-zip
安装好之后执行 php -v 可以查看版本。
②源码安装
将下载的源码解压到之前创建的目录中:cd code
wget http://cn2.php.net/get/php-7.0.23.tar.gz/from/this/mirror
tar -zxvf php-7.0.23.tar.gz
安装依赖:
sudo apt-get install libxml2* libbz2-dev libjpeg-dev libmcrypt-dev libxslt1-dev libxslt1.1 libpq-dev build-essential git make
添加php用户和组:
groupadd -r www && useradd -r -g www -s /bin/false -d /usr/local/php -M php
编译配置:
 ./configure \
--prefix=/usr/local/php \
--exec-prefix=/usr/local/php \
--bindir=/usr/local/php/bin \
--sbindir=/usr/local/php/sbin \
--includedir=/usr/local/php/include \
--libdir=/usr/local/php/lib/php \
--mandir=/usr/local/php/php/man \
--with-config-file-path=/usr/local/php/etc \
--with-mysql-sock=/var/lib/mysql/mysql.sock \
--with-mcrypt=/usr/include \
--with-mhash \
--with-openssl \
--with-mysql=shared,mysqlnd \
--with-mysqli=shared,mysqlnd \
--with-pdo-mysql=shared,mysqlnd \
--with-gd \
--with-iconv \
--with-zlib \
--enable-zip \
--enable-inline-optimization \
--disable-debug \
--disable-rpath \
--enable-shared \
--enable-xml \
--enable-bcmath \
--enable-shmop \
--enable-sysvsem \
--enable-mbregex \
--enable-mbstring \
--enable-ftp \
--enable-gd-native-ttf \
--enable-pcntl \
--enable-sockets \
--with-xmlrpc \
--enable-soap \
--without-pear \
--with-gettext \
--enable-session \
--with-curl \
--with-freetype-dir \
--enable-opcache \
--enable-redis \
--enable-fpm \
--enable-fastcgi \
--with-fpm-user=www \
--with-fpm-group=www \
--without-gdbm \
--with-fpm-user=nginx \
--with-fpm-group=nginx \
--disable-fileinfo
时间还是有些长的,耐心等待,configure完后就可以继续编译了:
make && sudo make install
配置php-fpm:
cd /usr/local/php/etc
cp php-fpm.conf.default php-fpm.conf
cd /usr/local/php/etc/php-fpm.d
cp www.conf.default www.conf
启动php-fpm:
/usr/local/php/sbin/php-fpm
3.安装MairaDB/MySQL
①apt-get安装MairaDB
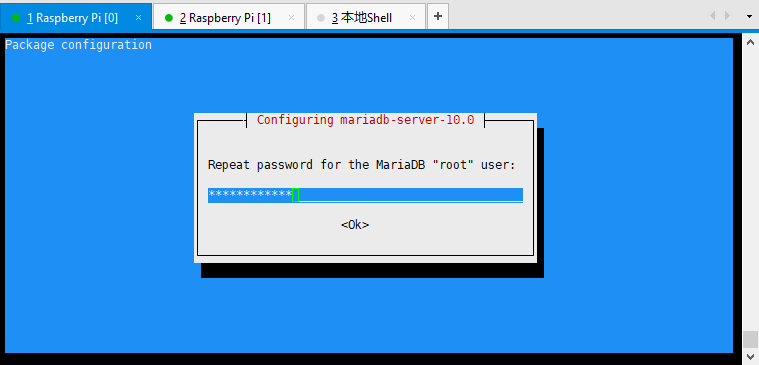
sudo apt-get install mariadb-server
安装过程中会提示设置MariaDB的密码:

稍等,MairaDB就安装完毕了。使用以下命令就可以登陆MariaDB:
mysql -u root -p
②编译安装MariaDB
MariaDB不使用./configure的方式编译配置,而是使用cmake,所以需要先安装cmake工具。wget https://cmake.org/files/v3.5/cmake-3.5.2-Linux-i386.tar.gz #下载cmake源码
tar -zxvf *.tar.gz #解压源码
cd cmake-3.5.2 #进入源码目录
./configure #编译配置
sudo make && sudo make install #编译并安装
编译cmake的过程有些漫长,耐心等待。完成后查看是否已经正常安装:
pi@raspberrypi:~/cmake-3.5.2 $ cmake --version cmake version 3.5.2开始安装MairDB,首先添加用户和组:CMake suite maintained and supported by Kitware (kitware.com/cmake).
sudo groupadd mysql
sudo useradd -s /sbin/nologin -g mysql -M mysql #创建mariadb用户
检查创建的用户:
pi@raspberrypi:~/cmake-3.5.2 $ tail -1 /etc/passwd
mysql:x:1001:1001::/home/mysql:/sbin/nologin
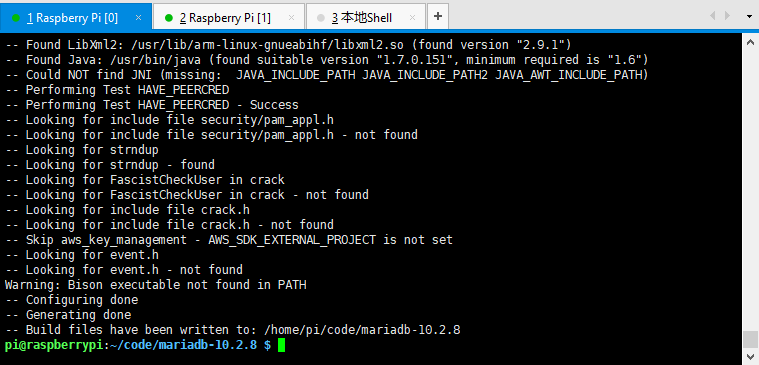
到官网上下载MaiaDB源码:https://downloads.mariadb.org/mariadb/10.2.9/
下载完后解压,进入源码目录。使用cmake配置源码:
cmake . \
  -DCMAKE_BUILD_TYPE:STRING=Release \
  -DCMAKE_INSTALL_PREFIX:PATH=/usr/local/mysql \
  -DENABLE_DEBUG_SYNC:BOOL=OFF \
  -DMYSQL_DATADIR:PATH=/var/lib/mysql \
  -DUSE_ARIA_FOR_TMP_TABLES:BOOL=ON \
  -DWITHOUT_PBXT_STORAGE_ENGINE:BOOL=ON \
  -DWITH_ARCHIVE_STORAGE_ENGINE:BOOL=ON \
  -DWITH_ARIA_STORAGE_ENGINE:BOOL=ON \
  -DWITH_BLACKHOLE_STORAGE_ENGINE:BOOL=OFF \
  -DWITH_EMBEDDED_SERVER:BOOL=OFF \
  -DWITH_EXTRA_CHARSETS:STRING=all \
  -DWITH_FEDERATEDX_STORAGE_ENGINE:BOOL=OFF \
  -DWITH_FEEDBACK:BOOL=OFF \
  -DWITH_INNOBASE_STORAGE_ENGINE:BOOL=ON \
  -DWITH_LIBWRAP:BOOL=OFF \
  -DWITH_PARTITION_STORAGE_ENGINE:BOOL=ON \
  -DWITH_PERFSCHEMA_STORAGE_ENGINE:BOOL=ON \
  -DWITH_SSL:STRING=system \
  -DWITH_ZLIB:STRING=system
编译安装(
-j4
:同时使用4线程,这是为了提高编译的速度,编译时会同时跑满树莓派的4个核心,所以如果你的树莓派没有散热措施,建议不要使用这个选项):
sudo make -j4 && sudo make install
这个过程仍然十分漫长……两个小时左右。(如果可以的话,建议用交叉编译环境)
完成安装后,要对MairaDB进一步地配置:
mkdir /var/run/mysqld
mkdir /var/log/mysql
mkdir -p /var/lib/mysql
mkdir /etc/mysql
chown -R mysql:mysql /usr/local/mysql/
chown -R mysql:mysql /var/run/mysqld/
chown -R mysql:mysql /var/log/mysql/
chown -R mysql:mysql /var/lib/mysql/
复制配置文件:
cp support-files/my-medium.cnf /etc/mysql/my.cnf
修改root用户密码:
/usr/local/mysql/bin/mysqladmin -u root password 'password'
附录
PHP的推荐配置文件(via:TypeCodes)
php.iniphp.ini是php运行核心配置文件:
######避免PHP信息暴露在http头中
expose_php = Off

######避免暴露php调用mysql的错误信息
display_errors = Off

######在关闭display_errors后开启PHP错误日志(路径在php-fpm.conf中配置)
log_errors = On

######设置PHP的扩展库路径
extension_dir = "/usr/local/php7/lib/php/extensions/no-debug-non-zts-20141001/"

######设置PHP的opcache和mysql动态库
zend_extension=opcache.so
extension=mysqli.so
extension=pdo_mysql.so

######设置PHP的时区
date.timezone = PRC

######开启opcache
[opcache]
; Determines if Zend OPCache is enabled
opcache.enable=1

######设置PHP脚本允许访问的目录(需要根据实际情况配置)
;open_basedir = /usr/share/nginx/html;
php-fpm.conf
php-fpm.conf是php-fpm进程服务的配置文件:
######设置错误日志的路径
error_log = /var/log/php-fpm/error.log
######引入www.conf文件中的配置
include=/usr/local/php7/etc/php-fpm.d/*.conf
www.conf(位于php-fpm.d目录)
www.conf这是php-fpm进程服务的扩展配置文件:
######设置用户和用户组
user = nginx
group = nginx

######根据nginx.conf中的配置fastcgi_pass unix:/var/run/php-fpm/php-fpm.sock;设置PHP监听
; listen = 127.0.0.1:9000 #####不建议使用
listen = /var/run/php-fpm/php-fpm.sock

######开启慢日志
slowlog = /var/log/php-fpm/$pool-slow.log
request_slowlog_timeout = 10s

######设置php的session目录(所属用户和用户组都是nginx)
php_value[session.save_handler] = files
php_value[session.save_path] = /var/lib/php/session
适用于ownCloud/Nextcloud的Nginx配置文件
upstream php-handler {
    server 127.0.0.1:9000;
    #server unix:/var/run/php5-fpm.sock;
}
server {
listen 80;
server_name cloud.dreampacific.cn;
# enforce https
return 301 https://$server_name$request_uri;
}
server {
listen 443 ssl;
server_name cloud.dreampacific.cn;
ssl_certificate /etc/nginx/cert/nextcloud.crt;
ssl_certificate_key /etc/nginx/cert/nextcloud.key;

# Add headers to serve security related headers
# Before enabling Strict-Transport-Security headers please read into this
# topic first.
add_header Strict-Transport-Security "max-age=15768000;
includeSubDomains; preload;";
add_header X-Content-Type-Options nosniff;
add_header X-Frame-Options "SAMEORIGIN";
add_header X-XSS-Protection "1; mode=block";
add_header X-Robots-Tag none;
add_header X-Download-Options noopen;
add_header X-Permitted-Cross-Domain-Policies none;

# Path to the root of your installation
root /usr/share/nginx/html/nextcloud/;

location = /robots.txt {
    allow all;
    log_not_found off;
    access_log off;
}

# The following 2 rules are only needed for the user_webfinger app.
# Uncomment it if you're planning to use this app.
#rewrite ^/.well-known/host-meta /public.php?service=host-meta last;
#rewrite ^/.well-known/host-meta.json /public.php?service=host-meta-json
# last;

location = /.well-known/carddav {
  return 301 $scheme://$host/remote.php/dav;
}
location = /.well-known/caldav {
  return 301 $scheme://$host/remote.php/dav;
}

# set max upload size
client_max_body_size 512M;
fastcgi_buffers 64 4K;

# Disable gzip to avoid the removal of the ETag header
gzip off;

# Uncomment if your server is build with the ngx_pagespeed module
# This module is currently not supported.
#pagespeed off;

error_page 403 /core/templates/403.php;
error_page 404 /core/templates/404.php;

location / {
    rewrite ^ /index.php$uri;
}

location ~ ^/(?:build|tests|config|lib|3rdparty|templates|data)/ {
    deny all;
}
location ~ ^/(?:\.|autotest|occ|issue|indie|db_|console) {
    deny all;
}

location ~ ^/(?:index|remote|public|cron|core/ajax/update|status|ocs/v[12]|updater/.+|ocs-provider/.+|core/templates/40[34])\.php(?:$|/) {
    include fastcgi_params;
    fastcgi_split_path_info ^(.+\.php)(/.*)$;
    fastcgi_param SCRIPT_FILENAME $document_root$fastcgi_script_name;
    fastcgi_param PATH_INFO $fastcgi_path_info;
    fastcgi_param HTTPS on;
    #Avoid sending the security headers twice
    fastcgi_param modHeadersAvailable true;
    fastcgi_param front_controller_active true;
    fastcgi_pass php-handler;
    fastcgi_intercept_errors on;
    fastcgi_request_buffering off;
}

location ~ ^/(?:updater|ocs-provider)(?:$|/) {
    try_files $uri/ =404;
    index index.php;
}

# Adding the cache control header for js and css files
# Make sure it is BELOW the PHP block
location ~* \.(?:css|js)$ {
    try_files $uri /index.php$uri$is_args$args;
    add_header Cache-Control "public, max-age=7200";
    # Add headers to serve security related headers (It is intended to
    # have those duplicated to the ones above)
    # Before enabling Strict-Transport-Security headers please read into
    # this topic first.
    add_header Strict-Transport-Security "max-age=15768000;
    includeSubDomains; preload;";
    add_header X-Content-Type-Options nosniff;
    add_header X-Frame-Options "SAMEORIGIN";
    add_header X-XSS-Protection "1; mode=block";
    add_header X-Robots-Tag none;
    add_header X-Download-Options noopen;
    add_header X-Permitted-Cross-Domain-Policies none;
    # Optional: Don't log access to assets
    access_log off;
}

location ~* \.(?:svg|gif|png|html|ttf|woff|ico|jpg|jpeg)$ {
    try_files $uri /index.php$uri$is_args$args;
    # Optional: Don't log access to other assets
    access_log off;
}

}
